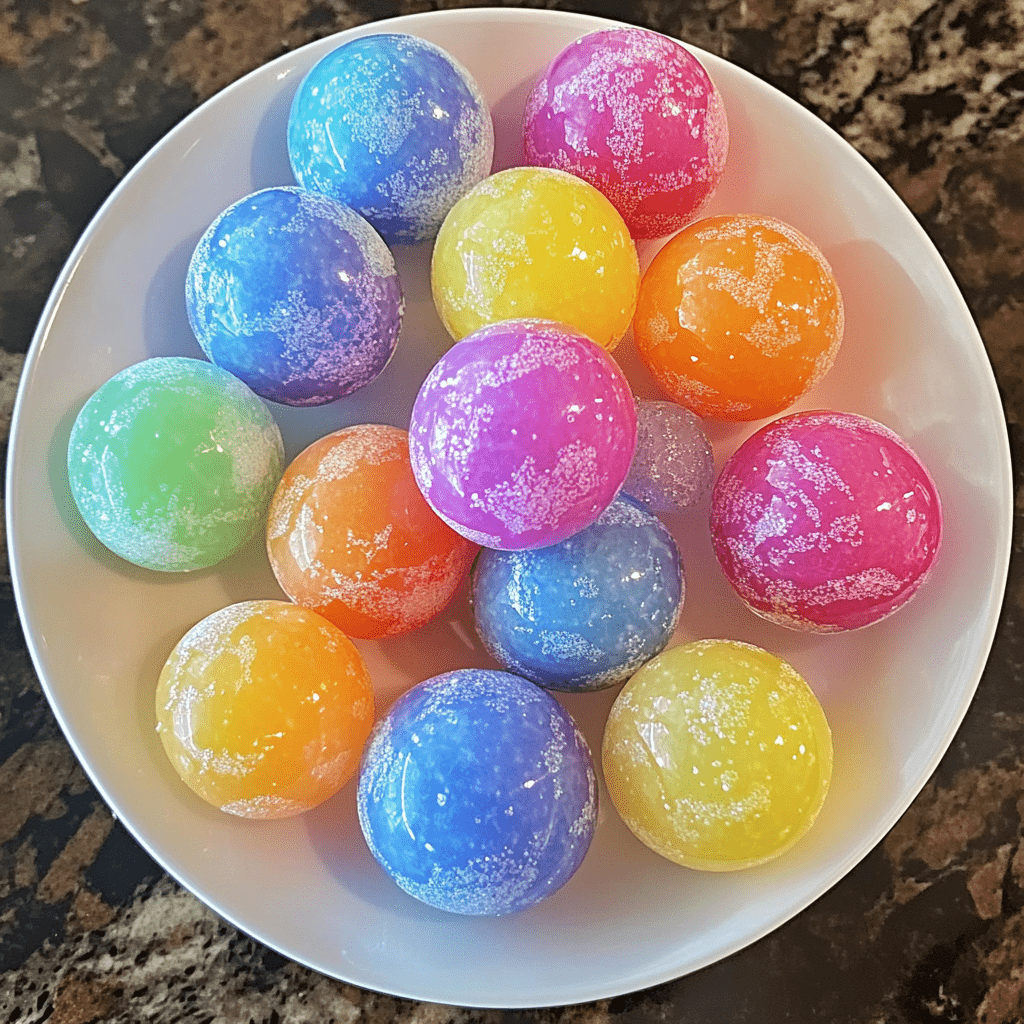
Looking for a fun and educational activity that’s perfect for kids, families, and even curious adults? Say hello to DIY bouncy balls — the colorful, squishy, super-fun project that brings science and playtime together in the most exciting way!
I first discovered this little gem of a craft during a summer afternoon with my nieces and nephews. We were knee-deep in glue, giggles, and neon food coloring, and the joy on their faces when the balls started to bounce? Absolutely priceless. It reminded me of the hands-on magic I felt in my grandmother’s kitchen, except this time, we were whipping up chemistry instead of cookies!
Whether you’re planning a birthday party, looking for a weekend craft, or want a fun way to sneak in a bit of science, these DIY bouncy balls are the perfect solution.
🧪 Why DIY Bouncy Balls?
Here’s why this craft is such a hit with kids and parents alike:
- Hands-On Science: Explore simple chemistry concepts in a safe, engaging way.
- Creative Expression: Customize colors, shapes, and sizes.
- Budget-Friendly: Uses everyday household ingredients.
- Safe & Supervised Fun: With just a bit of guidance, it’s safe for most age groups.
- Perfect for Summer: Keep kids entertained indoors or outdoors while learning something cool!
🧴 Ingredients You’ll Need
You might already have everything you need in your kitchen or craft drawer!
- 1 tablespoon borax powder
- 1 tablespoon cornstarch
- 2 tablespoons white glue (like Elmer’s)
- 1 tablespoon warm water
- Food coloring (optional, but highly recommended for colorful fun!)
- 1/4 teaspoon baking soda
- Gloves (optional, for mixing)
🛠️ How to Make DIY Bouncy Balls
Here’s a step-by-step guide to crafting your own colorful, bouncy fun!
Step 1️⃣: Mix the Dry Ingredients
In a small mixing bowl, combine:
- 1 tablespoon borax powder
- 1 tablespoon cornstarch
Give it a good stir to blend the powders evenly.
💡 Science Tip: Borax is the key player here! It reacts with the glue to form a stretchy, rubbery substance we call “polymer.”
Step 2️⃣: Create Your Glue Mixture
In a second bowl, combine:
- 2 tablespoons white glue
- 1 tablespoon warm water
- A few drops of food coloring (pick your favorite!)
Mix well until you get a smooth, colorful liquid.
Step 3️⃣: Combine & React!
Slowly pour the borax-cornstarch mix into the glue-water mixture while stirring continuously.
Add:
- 1/4 teaspoon baking soda
As you stir, the texture will begin to change quickly—it might get goopy or thick, and that’s a good sign!
⚠️ Pro Tip: Be sure to mix fast, because the reaction happens quickly!
Step 4️⃣: Knead to Perfection
Once it becomes too thick to stir:
- Remove the mixture from the bowl.
- Knead it with your hands for 2–3 minutes until it becomes firm, elastic, and smooth.
Use gloves if it feels sticky or if you have sensitive skin.
Step 5️⃣: Shape Your Ball
Time to roll! Shape your mixture into a small ball. Keep in mind:
- Smaller balls bounce higher!
- Want rainbow swirls? Divide your mixture and add separate food coloring to each piece, then twist and roll them together.
Step 6️⃣: Let It Set
Let your bouncy ball dry and set for at least an hour before bouncing.
Once it’s firm and dry—it’s playtime! 🎉
🎯 Bonus Activity Ideas with DIY Bouncy Balls
Now that you’ve made your bouncy balls, it’s time to get creative with how you use them!
- Bounce-Off Contest: Who can bounce their ball the highest?
- Obstacle Course: Create a mini challenge for your ball to roll through.
- Color Sorting: Make multiple balls in different colors and sort them by bounce height or texture.
- STEM Learning: Talk about polymers, chemical reactions, and how size affects bounce.
👨👩👧👦 Family Tips & Safety
- Supervise Young Kids: Borax is safe in small amounts but should never be ingested.
- Avoid Carpets & Furniture: These balls can get sticky if not fully set.
- Store in Airtight Container: Prevents drying out and keeps them fresh longer.
- Use Gloves: Especially helpful during kneading if you have sensitive skin.
🎨 Customization Ideas
Want to add a little extra pizzazz to your bouncy balls?
- Add glitter to the mix for sparkly fun.
- Try glow-in-the-dark glue for nighttime bouncing.
- Layer multiple colors to create marbled effects.
- Use themed colors (like red & green for Christmas, pastels for Easter, or orange & black for Halloween).
📚 Educational Angle: The Science Behind It
These balls are a fun intro to polymer chemistry! When borax meets glue (which contains polyvinyl acetate), they link up to form stretchy, rubber-like chains called polymers.
It’s a tactile way to teach states of matter, chemical reactions, and viscosity—without any pressure to memorize terms.
🌞 Why Summer is the Best Season for DIY Bouncy Balls
- Perfect for Outdoor Play: Let them bounce on patios, driveways, and grassy yards.
- Great for Group Activities: Think summer camps, birthday parties, BBQs.
- Mess? No Stress!: Easier cleanup outdoors when spills happen.
- Avoid Boredom: A fantastic break from screens and heat!
🔁 Keep the Fun Going: Craft + Science
Want to make it a full afternoon? Pair this craft with:
- DIY Slime Making
- Homemade Lava Lamps
- Build Your Own Volcano Kit
- Rainbow Density Jar Experiment
💬 Final Thoughts
DIY bouncy balls are more than just a fun craft — they’re an interactive learning tool and a memory-maker. Whether you’re hosting a summer birthday bash or just need an afternoon activity that actually works, this one’s a winner every time.
So grab the glue and get ready to bounce into a world of color, chemistry, and fun! And don’t forget to share your creations with us. What colors did you choose? How high did yours bounce? Drop a comment below — we’d love to see what you came up with!